AI Embroidery Digitizing: A Beginner's Guide to Effortless Design in 2025
Share
Embroidery digitizing has traditionally been a complex, labor-intensive process. But with the rise of artificial intelligence, creating intricate embroidery designs has become significantly more accessible. AI embroidery digitizing uses AI-powered software to automatically convert digital images into stitch files, allowing embroidery machines to stitch out complex designs with minimal manual intervention. This guide will walk you through everything you need to know to get started, from understanding the basics to choosing the right tools.
What is AI Digitizing?
AI embroidery digitizing streamlines the conversion of digital artwork into embroidery stitch files. The AI technology analyzes uploaded images, selects the most appropriate stitch types (such as satin, fill, or running stitches), determines stitch paths, and manages color transitions automatically. Auto-digitizing handles most of the work, but most tools also allow manual adjustments for personalized results. By 2025, features such as predictive stitch optimization, auto-density adjustment, and color photo-to-stitch conversion are becoming industry standards, increasing productivity and final design quality.
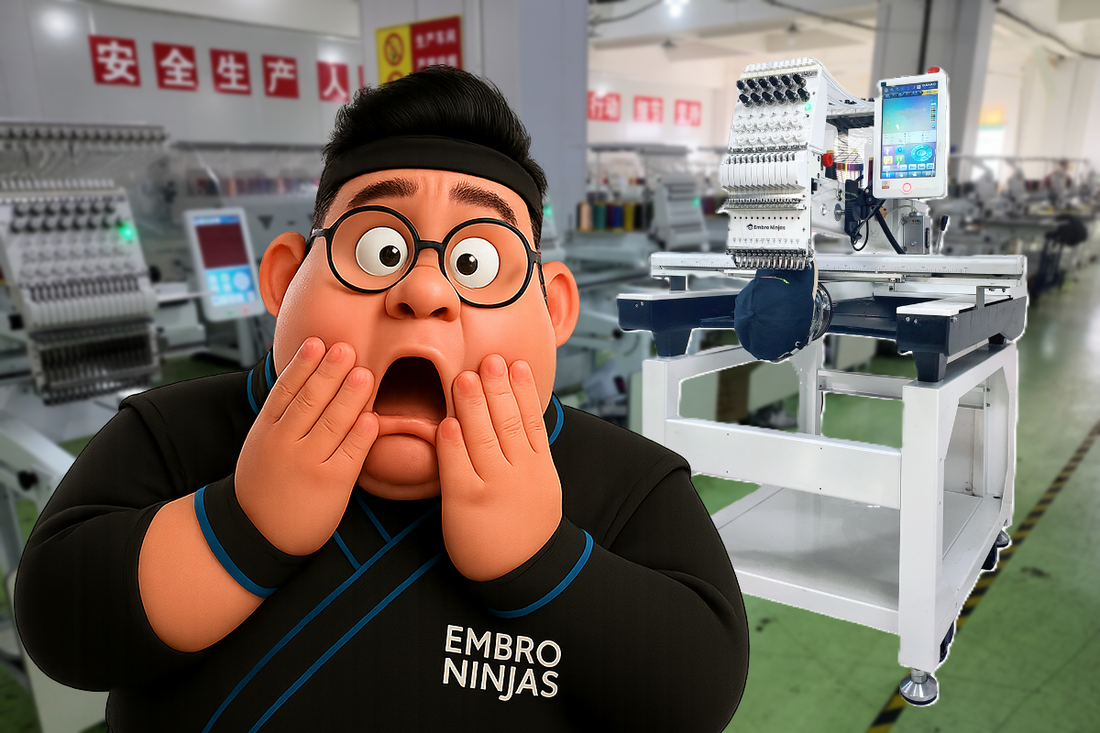
If you're looking to take your embroidery to the next level, consider the Embro Ninjas NinjaStarter. This machine is designed to work seamlessly with AI digitizing software, allowing you to bring your digital designs to life with ease.
Benefits for Beginners
AI digitizing offers several key benefits, especially for those new to embroidery:
- Reduces manual workload: Produce high-quality embroidery designs without advanced digitizing skills, as AI handles complex tasks like stitch selection and object conversion.
- Fast turnaround: AI tools convert designs in minutes, significantly faster than manual digitizing methods.
- Error reduction: AI auto-corrects common mistakes in pathing and stitch density, leading to cleaner results with fewer thread breaks or failed stitch-outs.
- Learning curve: Modern AI digitizing software often features user-friendly interfaces and guided workflows, shortening the time needed to become proficient.
- Supports experimentation: Easily try out various designs, color schemes, and stitch styles with minimal risk or wasted materials.
Tool Recommendations
Here are some top beginner-friendly AI embroidery digitizing software options in 2024:
- Hatch Embroidery: Features AI-assisted auto-digitizing tools (Click-to-Fill, Color PhotoStitch), wide file format compatibility (DST, PES), and beginner-friendly tutorials.
- Brother PE-Design 11: Integrated with Brother machines, offers auto-digitize, easy editing, and AI-driven stitch/texture optimization.
- Embrilliance Essentials: Recommended for those new to embroidery, providing straightforward design conversion and editing features.
- Inkscape with Ink/Stitch Plugin: A free, open-source solution offering basic auto-digitizing suitable for hobbyists or those on a budget (lacks some advanced AI, but is widely used as a starter platform).
- Wilcom Embroidery Studio: A comprehensive pro-level suite; advanced, but contains guided AI functions for new users.
For those looking for a machine that can handle complex designs created with these tools, the NinjaStarter is an excellent choice. It supports various file formats and offers the precision needed to bring your AI-generated designs to life.
Step-by-Step Tutorial: How to Use AI for Embroidery Design
Here's a step-by-step guide to using AI for embroidery design:
A. Automatic AI Digitizing (Ideal for Beginners)
- Choose AI-Powered Software: Select software such as Hatch Embroidery, Brother PE-Design 11, or Embrilliance Essentials with an "auto-digitize" or "AI digitizing" feature.
- Upload Artwork: Import a high-resolution image (JPG, PNG, SVG) into the software.
- Select Auto-Digitize: Locate and activate the "Auto-Digitize" tool; the software will analyze the image and convert it into an embroidery design.
- Basic Adjustments: Optionally refine stitch type, density, and colors as suggested by the software—most platforms highlight these options after initial conversion.
- Preview Stitch-Out: Use the built-in preview function to see a virtual simulation of how the design will stitch.
- Save Design File: Export the design in a format compatible with your embroidery machine (commonly DST, PES, JEF, EXP).
- Transfer & Stitch: Send the file to your embroidery machine and start stitching.
B. Manual Digitizing with AI Assistance
- Follow steps 1–2 above.
- Manually define design areas and choose stitch types, then let AI optimize stitch direction, density, and underlay for each object.
Make advanced adjustments as needed for highly custom or complex designs. If you're interested in customizing your machine to better suit your workflow, explore the options at Embro Ninjas customization page.
Cost Comparison: AI vs. Traditional Digitizing
| Aspect | AI-Powered Digitizing | Traditional Digitizing |
|---|---|---|
| Software Cost | $100–$1,500 (one-time or subscription) | $300–$2,500 (manual tools, higher-end) |
| Time Per Design | 2–10 minutes (AI auto) | 1–3 hours (manual digitizing) |
| Skill Requirement | Low to moderate | Moderate to high |
| Quality for Simple Art | High (auto) | High |
| Quality for Complex Art | Good to excellent (with tweaks) | Excellent (with experienced digitizer) |
Free/open-source AI tools like Inkscape+Ink/Stitch are available but may have limited capabilities and require more manual adjustment. Paid software typically offers superior AI features and customer support, justifying the investment for frequent use.
Common Mistakes to Avoid
- Low-Resolution Images: Uploading poor-quality artwork leads to rough, pixelated stitches.
- Ignoring Machine Compatibility: Not checking file format support can cause errors or failed transfers.
- Relying Only on Auto-Digitize: Failing to review or tweak AI-generated results may lead to thread breaks or misaligned sections, especially in complex designs.
- Improper Stitch Density: Not adjusting density for different fabrics can result in puckering or thread breakage; always preview and adjust as needed.
- Skipping Previews: Not using software previews (virtual stitch-outs) to spot and correct problems before stitching on real fabric.
Free vs. Paid AI Tools: Comparison
| Feature | Free AI Tools (e.g., Inkscape/InkStitch) | Paid AI Tools (e.g., Hatch, PE-Design, Embrilliance) |
|---|---|---|
| Cost | $0 | $100–$1,500+ |
| Auto-Digitizing Quality | Basic, limited settings | Advanced, more accurate/realistic |
| File Format Support | Often limited | Extensive (DST, PES, JEF, etc.) |
| Learning Resources | Community forums | Official tutorials, customer support |
| Speed & Ease of Use | Moderate | Fast, streamlined workflow |
| Advanced Editing | Manual, fewer options | Extensive, often AI-assisted |
| Upgrades/Updates | Community-driven (occasionally slow) | Regular, supported |
Troubleshooting Common Issues & Ethical Considerations
Troubleshooting:
- File Fails to Load: Check that the image format and file size are supported.
- Machine Won’t Read File: Ensure you’re exporting in the correct compatible file format (DST, PES, JEF, etc.) and that there are no corruptions during transfer.
- Stitches Overlap or Gaps: Use AI tool’s stitch optimizer or manually adjust density/underlay settings within software.
- Thread Breaks: Reduce stitch density or select appropriate underlay in the AI software settings.
Ethical Considerations:
- Do not digitize copyrighted or trademarked designs without permission.
- AI-generated designs may resemble existing artwork—always verify originality before commercial use.
Next Steps
- Start with a trial: Download demo versions of leading AI embroidery digitizing software (like Hatch, Brother PE-Design, or Embrilliance) to test features and workflow suitability.
- Join online communities: Participate in digitizing forums or learning groups for peer support and tips.
- Practice: Use simple images first and gradually experiment with more complex artwork to refine your skills using both auto and manual AI-assisted methods.
- Stay updated: Monitor software updates and AI feature rollouts, as capabilities and pricing may change rapidly in the embroidery market.
For further assistance or to explore machine options that perfectly complement your AI digitizing workflow, schedule a virtual demo at Embro Ninjas demo page. Discover firsthand how our machines can elevate your embroidery projects. You can also visit the Embro Ninjas virtual demo explanation page to learn how demos work and what you can expect.
Ready to experience the future of embroidery? Explore our range of machines at Embro Ninjas and empower your creativity today!
What people also ask?
Question: Can AI embroidery digitizing software be used with any embroidery machine?
Yes, AI embroidery digitizing software can be used with any embroidery machine, provided you export the design in a compatible file format. However, it’s crucial to ensure that the software supports the file format recognized by your machine (such as DST, PES, JEF, EXP, etc.). Some software programs are specifically designed to integrate seamlessly with particular brands, like Brother's PE-Design for Brother machines, potentially offering enhanced features or ease of use. Always check the compatibility list in the software documentation and the machine’s manual before starting your project to avoid file transfer or recognition issues. Using a compatible format ensures that your embroidery machine can accurately read and stitch the digitized design, regardless of the software used to create it.
Question: How accurate is AI embroidery digitizing compared to manual digitizing?
AI embroidery digitizing can be highly accurate, especially for simple designs, but may require manual adjustments for complex artwork. For straightforward images with clear lines and shapes, AI can produce excellent results with minimal intervention, significantly reducing digitizing time and potential errors. However, when dealing with intricate designs, gradients, or specific artistic effects, manual digitizing by an experienced professional often yields superior results. Manual digitizers possess the expertise to make nuanced decisions about stitch types, densities, and layering to achieve the desired look and feel. While AI is continually improving, professional manual digitizing remains the gold standard for projects that demand the highest level of precision and customization. Keep in mind that even with AI digitizing, reviewing and tweaking the generated design is always recommended to ensure optimal stitch-out quality.
Question: What are the limitations of free AI embroidery digitizing tools?
Free AI embroidery digitizing tools often have limitations in terms of features, file format support, and the quality of the auto-digitizing results. These tools may offer basic auto-digitizing functions, but they typically lack the advanced editing capabilities, stitch optimization algorithms, and extensive file format compatibility found in paid software. The quality of the auto-digitized design may also be lower, requiring more manual correction to achieve a satisfactory outcome. Additionally, free tools may not provide the same level of customer support or learning resources as their paid counterparts, making it more challenging for beginners to learn and troubleshoot issues. While free tools can be a good starting point for hobbyists or those on a tight budget, investing in paid software often provides a more streamlined workflow, higher-quality results, and better overall user experience.
Summary: AI embroidery digitizing empowers beginners to create intricate designs effortlessly by automating complex tasks. While both free and paid AI options exist, choosing the right tools and understanding their limitations is key to achieving professional-quality results and enhancing your embroidery projects.


